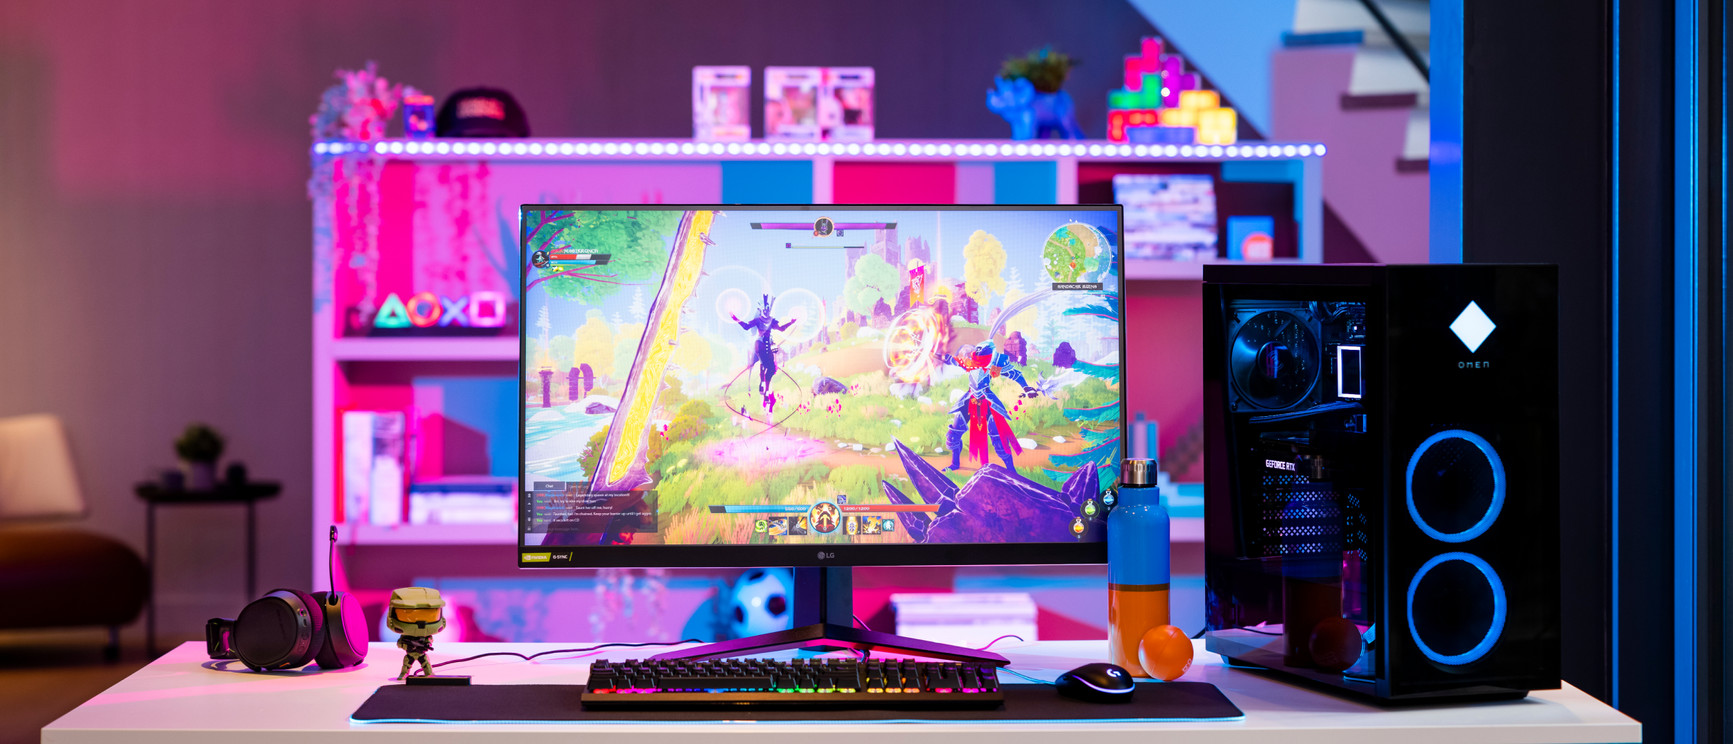
Riding your own computer from scratch can be a rewarding and educational experience. This step-by-step guide will take you through the entire process, from component preparation and selection to final assembly and operating system configuration.
1. Preparation and Selection of Components
Necessary Tools:

- Star Screwdriver (Phillips)
- Antistatic forceps
- Thermal paste
- Cable flanges
- Antistatic bracelet (optional but recommended)
Main Components:
- Base Plate (Motherboard): It is the heart of the system where all other components are connected. Make sure it is compatible with your CPU and other components.
- CPU (Processor): It is the brain of your computer. Popular options include Intel and AMD, each with multiple ranges of models.
- RAM memory: It affects the ability of your system to handle multiple tasks simultaneously. At least 8 GB is recommended.
- Storage: SSD for the operating system and applications for its speed, and HDD for mass storage.
- Graphic Card (GPU): Necessary if you plan to play games or perform intensive graphic tasks.
- Power Source (PSU): Provides power to all components. Make sure it has enough power.
- Cabinet (Box): It houses and protects all components. Choose one that allows good air flow.
- Refrigeration System: It can be air (dissipators) or liquid.
2. Step by Step Process to Build a Desktop Computer
Step 1: Preparation of the Work Area
It works on a flat, clean surface. Wear an antistatic bracelet to avoid damage to sensitive components.
Step 2: CPU installation
Open the CPU socket on the motherboard. Line the processor with the socket and place it gently. Close the socket and secure the CPU in place.

Step 3: Application of Thermal Pasta and Disipper / Cooler Assembly
Apply a small amount of thermal paste to the CPU. Place the heatsink or cooling system on the CPU and fix it.
Step 4: Installation of the RAM Memory
Find the DIMM slots on the motherboard. Align and push the RAM modules until the side clips secure them.

Step 5: Assembly of the Base Plate in the Cabinet
Install the brass supports in the cabinet. Place the motherboard and screw it in place.

Step 6: Installation of the Power Supply (PSU)
Place the PSU in the cabinet compartment. Secure the PSU with the included screws.

Step 7: Storage Facility (SSD / HDD)
If you use an SSD M.2, install it on the motherboard. For standard SSDs and HDDs, mount the units in the corresponding bays and connect them to the motherboard and PSU.

Step 8: Cable Connection
Connect the PSU cables to the motherboard, GPU, storage, and other components. Connect the cables from the front panel of the cabinet to the motherboard.
Step 9: Installation of the Graphic Card (GPU)
Insert the GPU into the PCIe slot on the motherboard. Secure the GPU with screws and connect it to the PSU if necessary.

Step 10: Completion and Verification
Check all connections. Connect the monitor, keyboard and mouse. Turn on the system to make sure everything works properly.
3. Installation of the Operating System and Configuration
Installation of the Operating System:
Connect a USB or DVD installation of your operating system (ex. Windows, Linux). Start the system and follow the on-screen instructions to install the operating system.
Initial Configuration:
Install the latest drivers for all components. Configure your operating system according to your preferences and needs.

Practical Tips and Completion
Practical Tips:
- It maintains an organized lock area.
- Use cable flanges to improve air flow and cabinet internal aesthetics.
- Perform regular dust cleaning inside the cabinet to maintain performance.
Riding your own computer can be a challenging but incredibly satisfying task. Following these steps, you will have a personalized system that meets all your needs and preferences.


No responses yet